

Prerequisites
- Python3
- docker
- docker-compose
Setup FastAPI application
Why use Poetry for dependency and virtual environment management instead of pip and it's equilvalent python setups
Many developers loved the experience provided by Yarn and Npm in the NodeJS ecosystem. Poetry gives a similar experience to developers in the Python world.
This tutorial compares the approach used by npm for dependency management with poetry to show some of it's greatest strength and why you should use it.
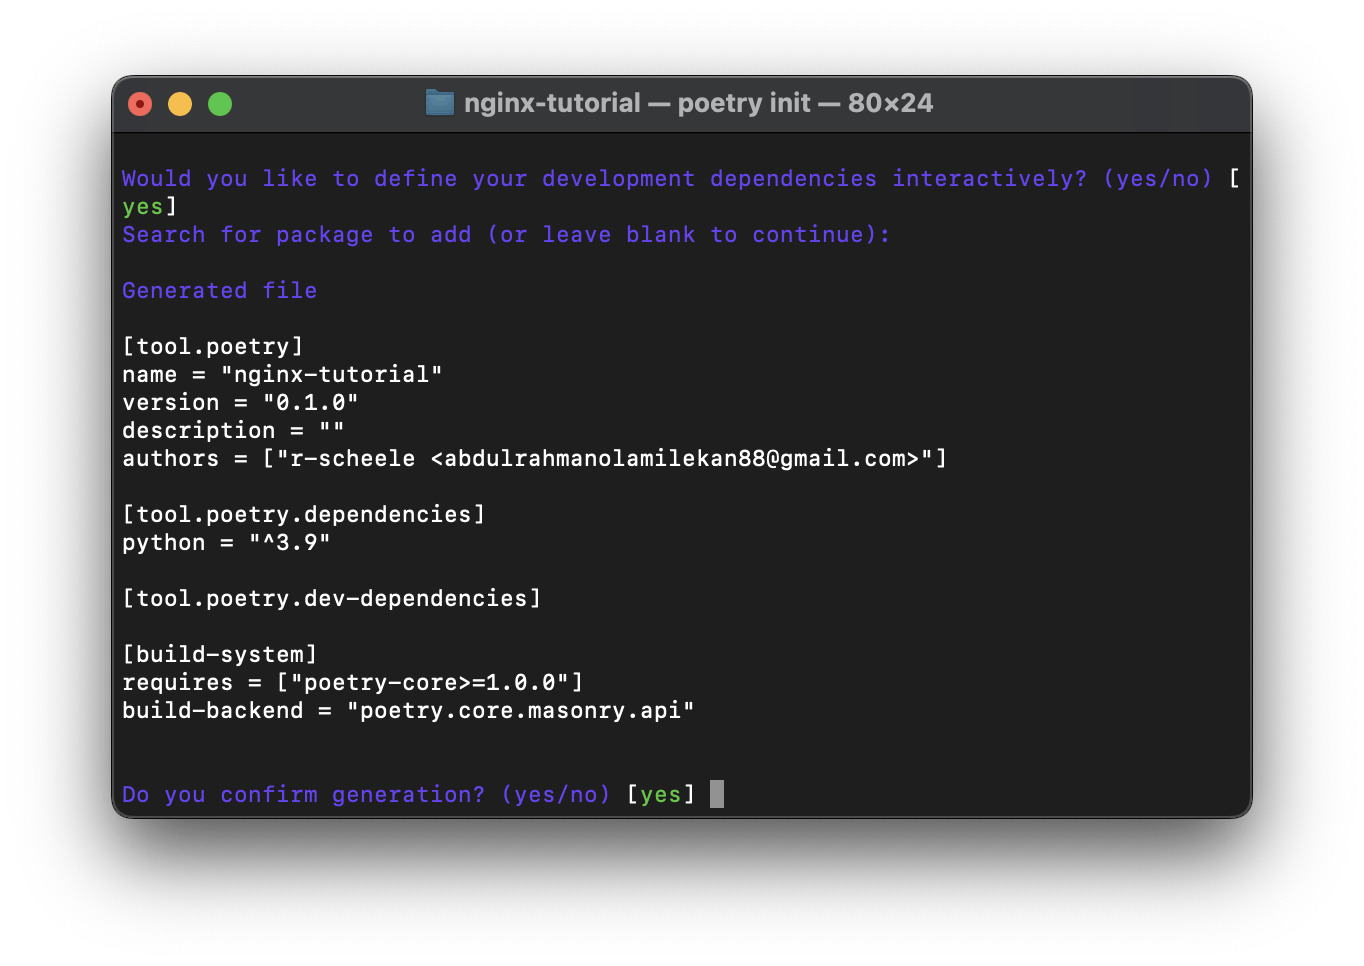
Similar to package.json file in the NodeJS world, poetry uses a file named pyproject.toml file to specify the configurations for your project, and generates a lockfile automatically to describe the entire dependency tree.
A pyproject.toml file looks like this;
Setting up poetry on your machine
With python installed in your system, you can easily run
pip install poetry
For python3
pip3 install poetry
Successful installation can be confirmed with
poetry --version
App dependencies and virtual environment
With poetry installed, we can start a python application by simply running the following command
poetry init
and follow the command line prompt.
This command is similar to npm init -y in the NodeJS ecosystem.
a pyproject.toml file should be created where you can add your dependencies (the libraries that you will use during the project).
Activate the virtual environment with the following command
poetry shell
The last step is to add the dependencies for starting up a FastAPI application.
Adding a core dependency with poetry is simply done with poetry add [package name, while adding a dev dependency requires a --dev flag.
To begin working on our application, we need fastapi and unicorn as dependencies.
poetry add fastapi uvicorn[standard] gunicorn
Starting the application server with uvicorn
Firstly we need to create a new python file called main.py, this file will contain our route and also the app object, which is responsible for instantiating the FastAPI application.
Finally, we can start the application with the command shown below;
uvicorn main:app --reload
Now your application is running on http://127.0.0.1:8000 and the good news is: FastAPI is integrated with Swagger, the documentation is automatically generated and you can check it via http://127.0.0.1:8000/docs
Dockerize the FastAPI application
The first step for creating a docker container is to specify what, how and on which OS we need the application to run, and all these configurations reside in a file named as Dockerfile.
FROM python:3.10 as python-base
RUN mkdir python_tutorial
WORKDIR  /python_tutorial
COPY /pyproject.toml /python_tutorial
RUN pip3 install poetry
RUN poetry config virtualenvs.create false
RUN poetry install
COPY . .
CMD ["gunicorn", "-w", "4", "-k", "uvicorn.workers.UvicornWorker", "main:app", "--bind", "0.0.0.0:8000"]
Let’s follow the file, line by line:
Line 1: Represents the base image (in our case its python), I have specified version 3.10 and you may change it accordingly(eg 3.9, 3.7, ..etc)
Line 2: Lets us create a folder named python_tutorial in our container
Line 3: Sets the created directory as our working directly.(So, all the commands below will be executed w.r.t python_tutorial as our root directory)
Line 4: Copy the file with the requirements to the application directory. Copy only the file needed to install the app dependencies only, and not the rest of the files in the app directly. As this file doesn’t change often, Docker will detect it and use the cache for this step, enabling the cache for the next step too.
Line 5: We install poetry so it can be used for dependency management in our app container
Line 6: We disable virtual environment creation inside the container, as it is only needed on the local machine
Line 7: We install all required libraries within container.
Line 8 : Copy all the files. As this has all the code which is what changes most frequently the Docker cache won’t be used for this or any following steps easily. So, it’s important to put this near the end of the Dockerfile, to optimize the container image build times.
line 9: Exposes our application to use gunicorn for starting the app. setting the worker to 4, and also bind the app port to 8000
Whoffff!!! Fans self!
 I know that's a lot of facts, so let's take a break.😅
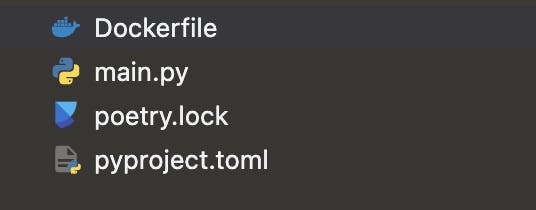
The current structure of our directory looks like this;
To elegantly manage our application docker image, we decide to use docker-compose. With docker-compose, we can configure and start multiple Docker containers connected to our application on the same host with a single command, and Hey! it looks cool🫣

Now, lets configure docker-compose.yml
version: "3"
services:
  api:
    build: .
    image: python_tutorial
    ports:
      - "8000:8000"
    volumes:
      - .:/python_tutorial:ro
Let's take a look at what's going on in the file;
Line 1: specifies version of docker-compose.
Line 3: We set a service named api.
Line 4 → 5: Specifies the path to Docker file and the tag name respectively.
Line 6: Specifies port mappings :
Line 7: sets the bind mount, to allow further changes to the application(development - not necessary in production)
Line 8: specifies the env file, if present
and finally run the following command;
docker-compose up
And if you are having a good day, you will get the following results on your terminal.